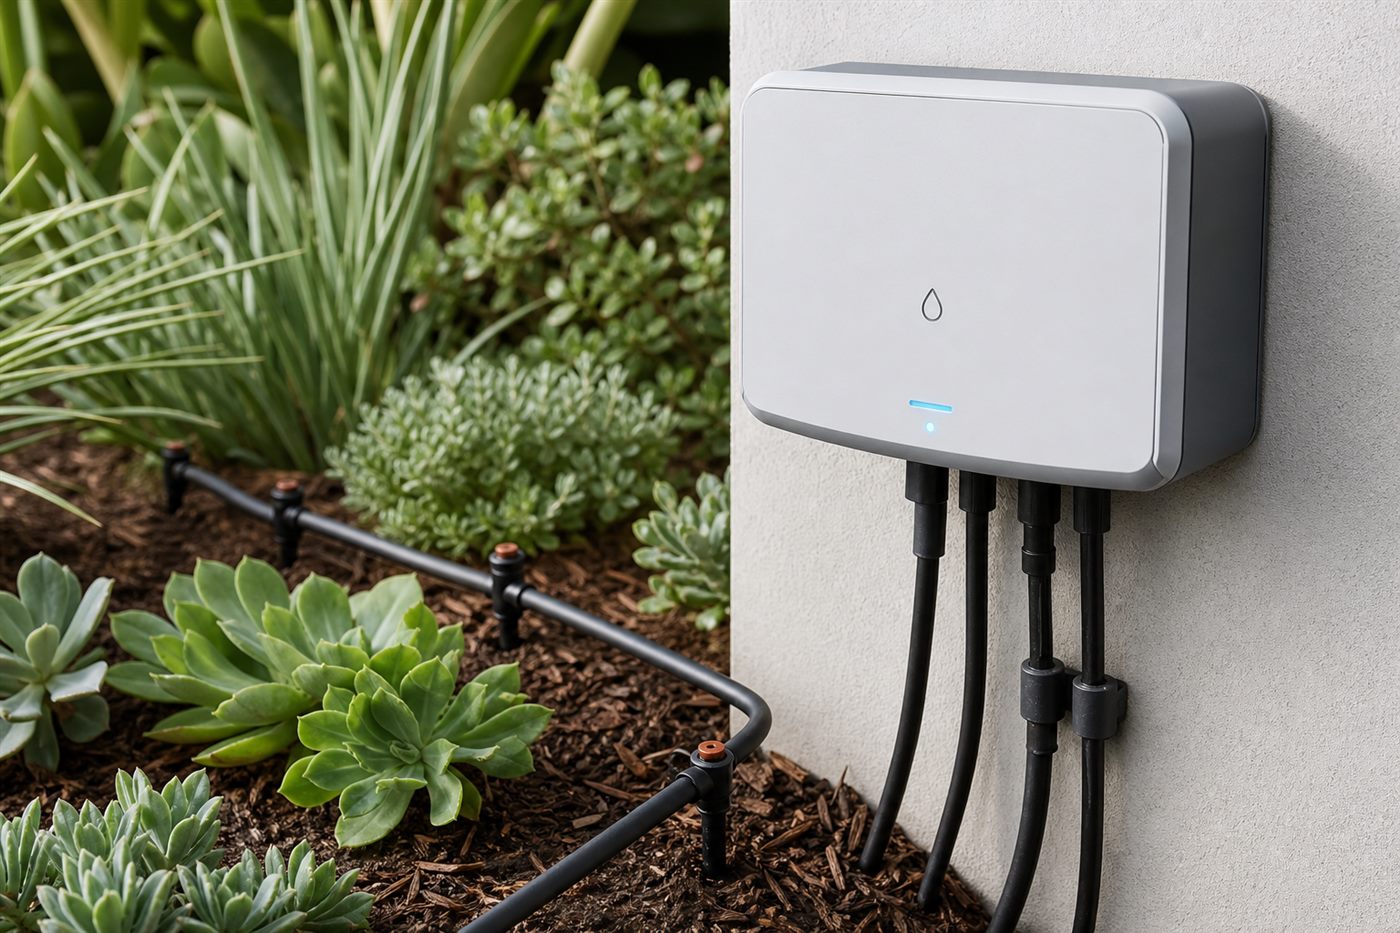
Map hydrozones and fix broken heads before you program anything.
WaterSense weather-based controllers use local weather instead of a fixed summer clock.
Enter soil and plant settings honestly, then probe the root zone.
Kit
- WaterSense-labeled weather-based controller
- Valves labeled by hydrozone
- Optional rain sensor
- Soil probe for moisture checks
Do this
-
Map hydrozones
Group similar water needs and sun. Do not leave lawn spray and drip shrubs on the same valve if you can split them.
EPA WaterSense.
-
Fix hardware before programming
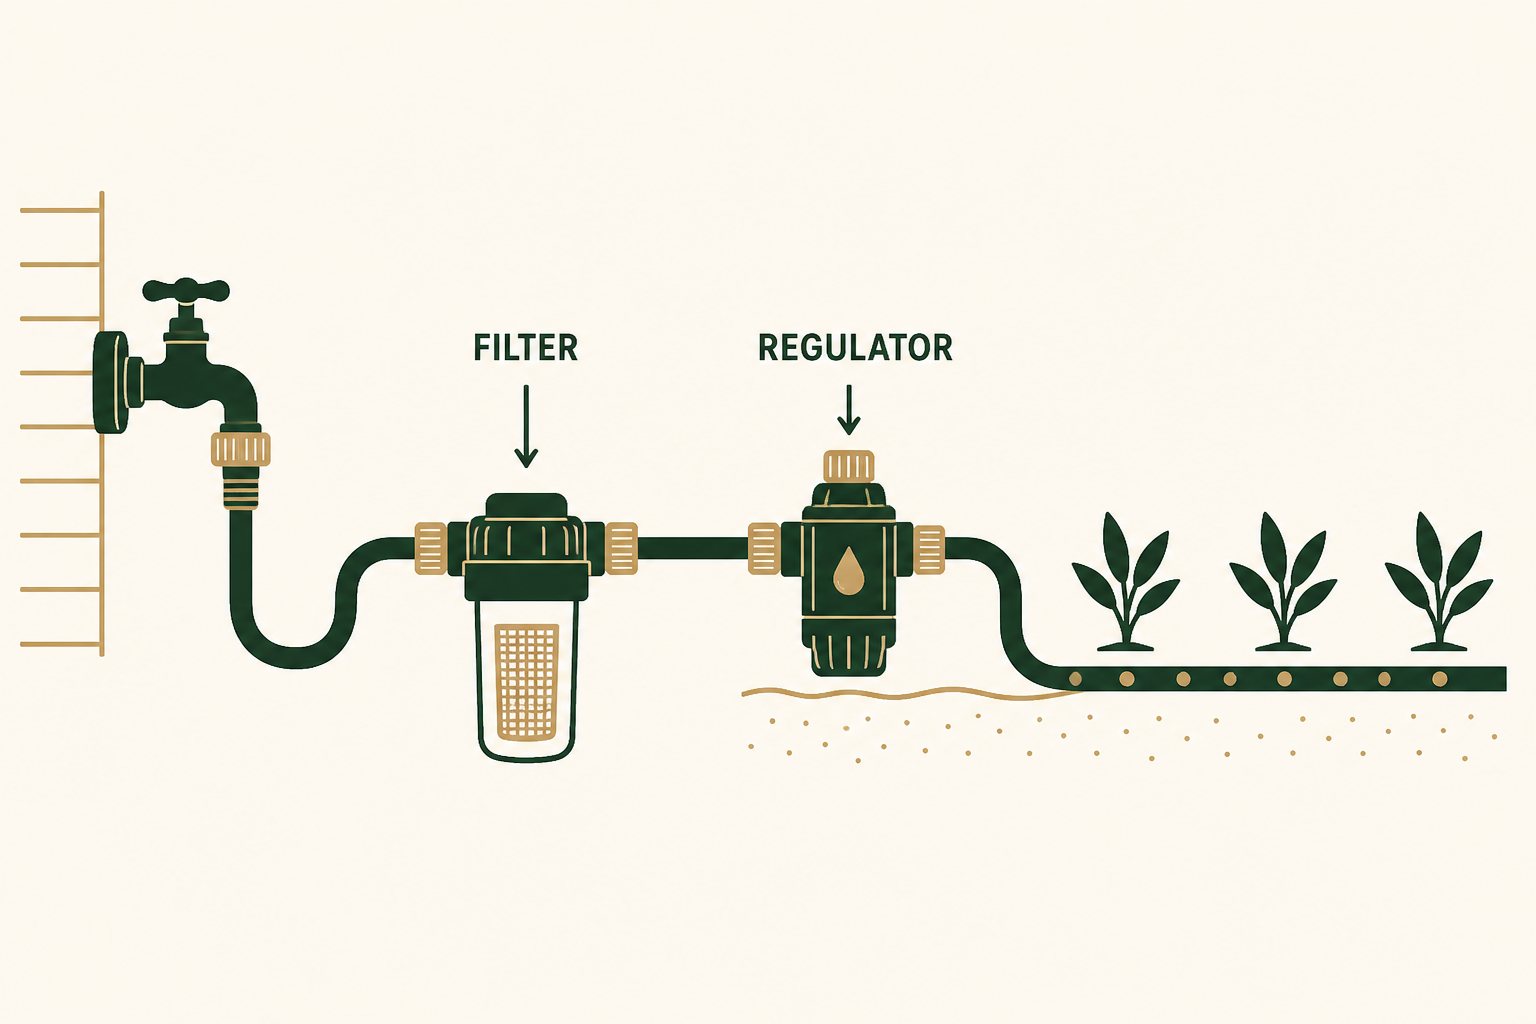
Walk the system while it runs. Repair broken heads, overspray, and misting (often high pressure).
EPA WaterSense.
-
Install or retrofit the controller
Wire commons/valves carefully. Enable weather/ET mode rather than copying last summer’s minutes forever.
EPA WaterSense.
-
Enter landscape settings honestly
Soil, plant type, sun, and slope matter. Established woody plants often need far less than cool-season turf ET.
EPA WaterSense.
-
Verify with soil, not vibes
Probe after a week: irrigate near half depletion in the root zone. Adjust runtimes gradually.
EPA WaterSense.
Want a smart controller set up on a San Diego system? Gardens of Gold installs and repairs irrigation in San Diego County. Get a quote.