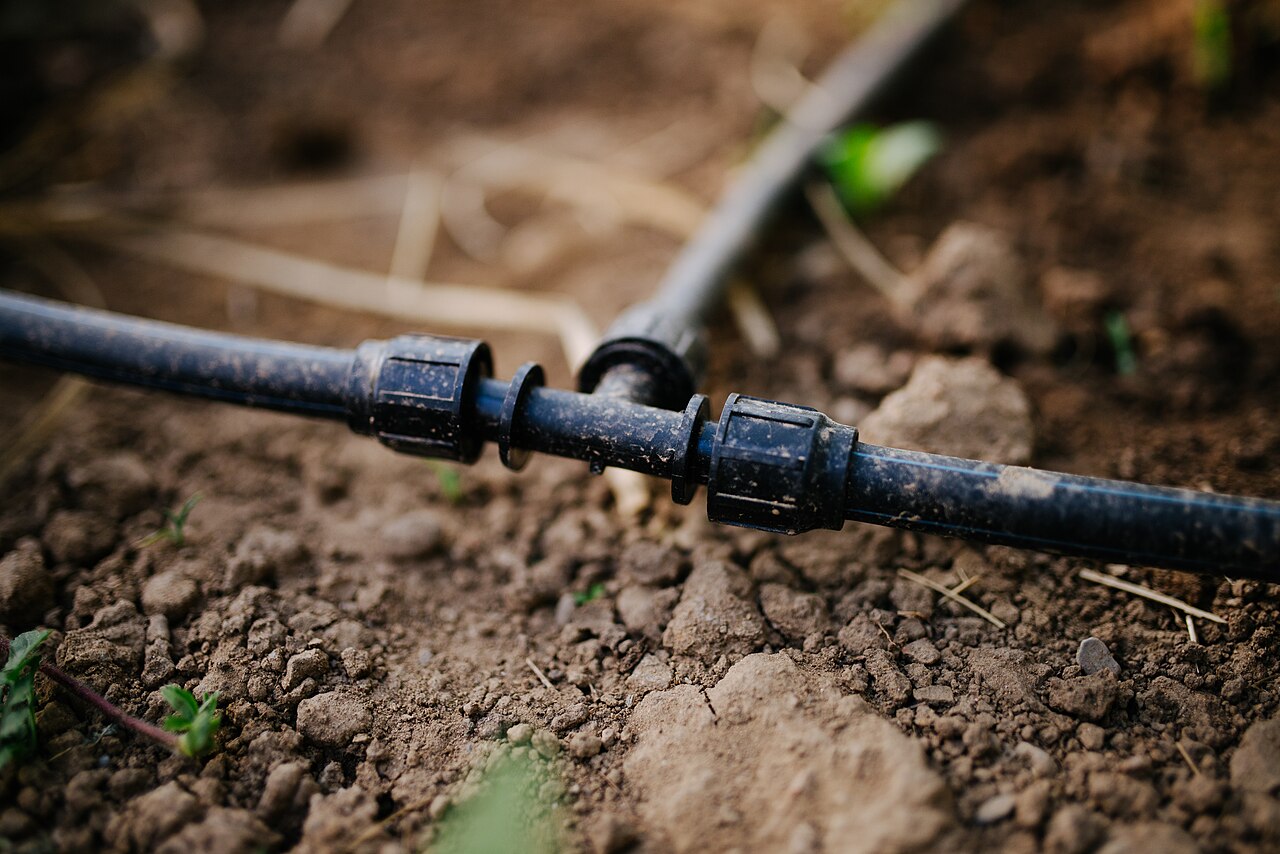
Filter, then a 20–30 PSI regulator, before any tubing.
A hose bib already has enough pressure for sprinklers; food-bed drip wants a filter so emitters do not clog.
Pick one printed 4×8 layout; stake it on the soil; do not bury it.
Kit
- Anti-siphon / backflow device if your city requires one
- Hose-bib timer
- Screen filter sized for drip
- Pressure regulator, 20, 25, or 30 PSI (15–30 PSI is printed as generally adequate)
- 1/2-inch poly supply tubing, tees, and end caps
- Pressure-compensating inline emitter tubing, 0.5 GPH for dense vegetables
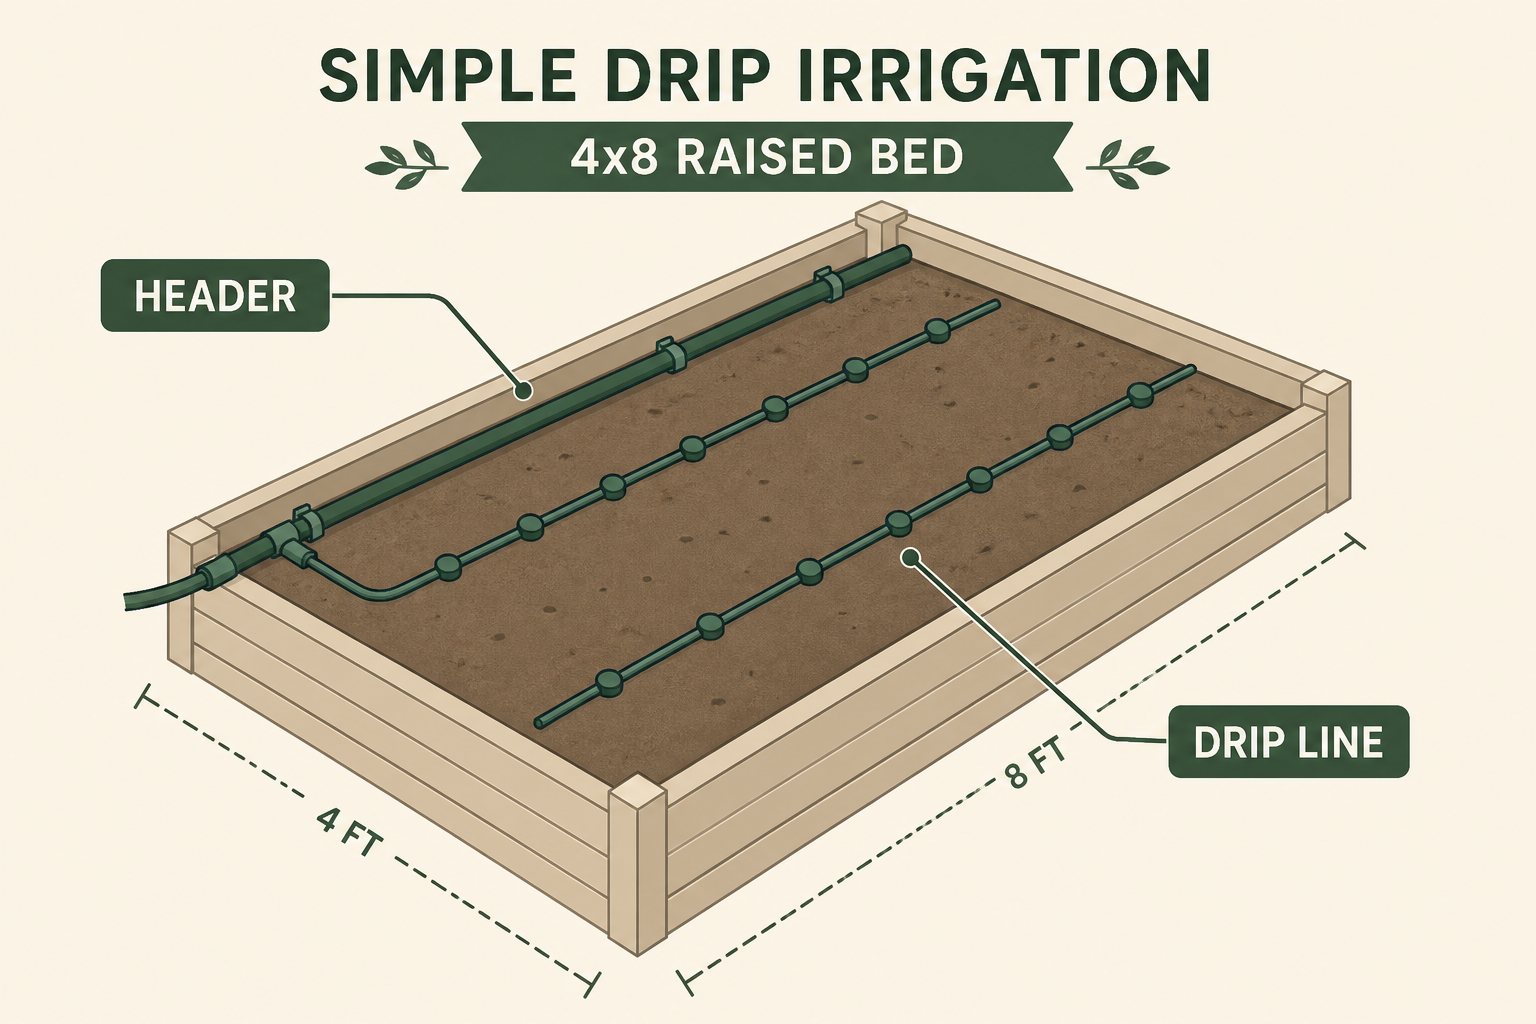
- For a 4×8 using layout B: 4 ft 6 in of 1/2-inch header plus four 8-foot 1/4-inch laterals
- 6-inch U-stakes and staples
- Goof plugs
- Mulch
Do this
-
Stack the hose-bib parts in printed order
Start at the faucet with an anti-siphon / backflow device if your city requires one, then a timer, then a filter, then a pressure regulator, then 1/2-inch supply tubing. Sonoma’s 4×8 shopping list prints that stack.
UC MG Sonoma.
-
Put the filter first, then a 20–30 PSI regulator
Sonoma’s drip basics say a sprinkler-to-drip conversion needs a filter plus a regulator that lands at 20–30 PSI. Pick one printed rating in that band; do not skip the filter.
UC MG Sonoma.
-
Use pressure-compensating emitters, 0.5 GPH on dense vegetables
Pressure-compensating emitters keep the last plant on the line from getting less water than the first. Emitter-line tubing is printed as 0.5 GPH per outlet for vegetables, raised beds, and pots.
UC MG Sonoma.
-
Pick one printed 4×8 layout, not a hybrid
Sonoma prints two complete ways to water a 4×8 food bed. Build layout A or layout B, not a mix of both.
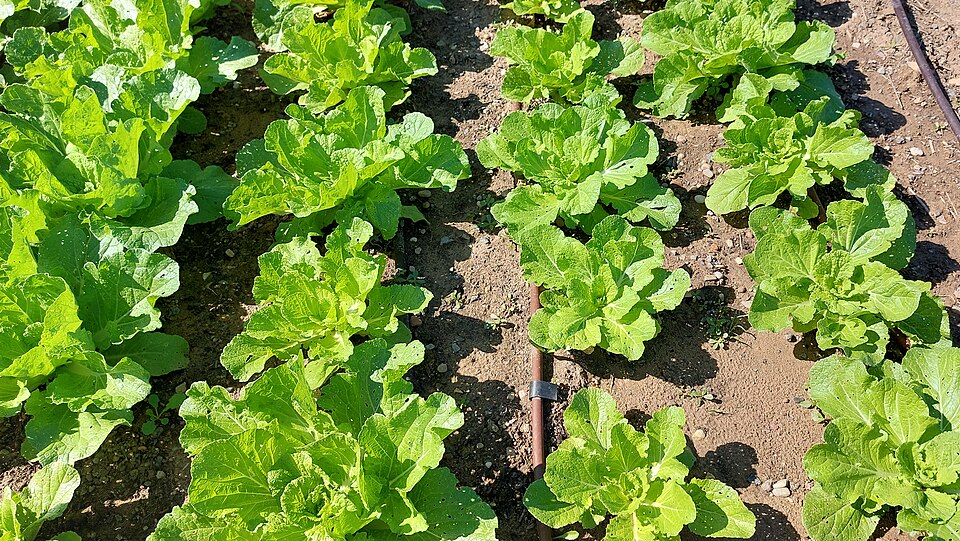
Field rows of Chinese cabbage with surface drip and a staple. This is not a 4×8 raised bed. Photo: Schlaghecken Josef, Wikimedia Commons, CC BY-SA 4.0. Layout Printed sheet Build A Food-garden PDF 1/2-inch supply on one side; three 1/2-inch PC inline lines, 12-inch / 1/2 GPH, capped, teed to the supply B 2019 shopping list 4 ft 6 in of 1/2-inch header across the 4-foot width; four 8-foot 1/4-inch laterals (32 ft); goof-plugs on the ends Common printed veg spacings: 1/2-inch inline every 9 or 12 inches; 1/4-inch inline every 6 or 12 inches. Build one of those layouts, not a mix of both.
UC MG Sonoma.
-
Keep 1/4-inch laterals at 17 feet or less
Sonoma’s food-garden PDF says 1/4-inch drip tubing is not meant to run more than 17 feet. If the bed is longer than that, use 1/2-inch laterals (layout A) instead of stretching 1/4-inch.
UC MG Sonoma.
-
Stake it where you can see it
Lay the lines on top of the soil so you can watch and repair them. Stake 1/2-inch with 6-inch U-stakes, staple 1/4-inch, cover with mulch, then confirm every line is delivering.
UC MG Sonoma.
-
Hand-water seed, then check the soil
Emitter spread may not wet a seed row until seedlings are several inches high, so Sonoma allows temporary hand-watering until roots reach the wet zone. Check soil under emitters; how long to run the timer depends on the bed, the weather, and that soil check.
SD MG.
Want drip laid on a San Diego raised bed? Gardens of Gold installs and repairs irrigation in San Diego County. Get a quote.