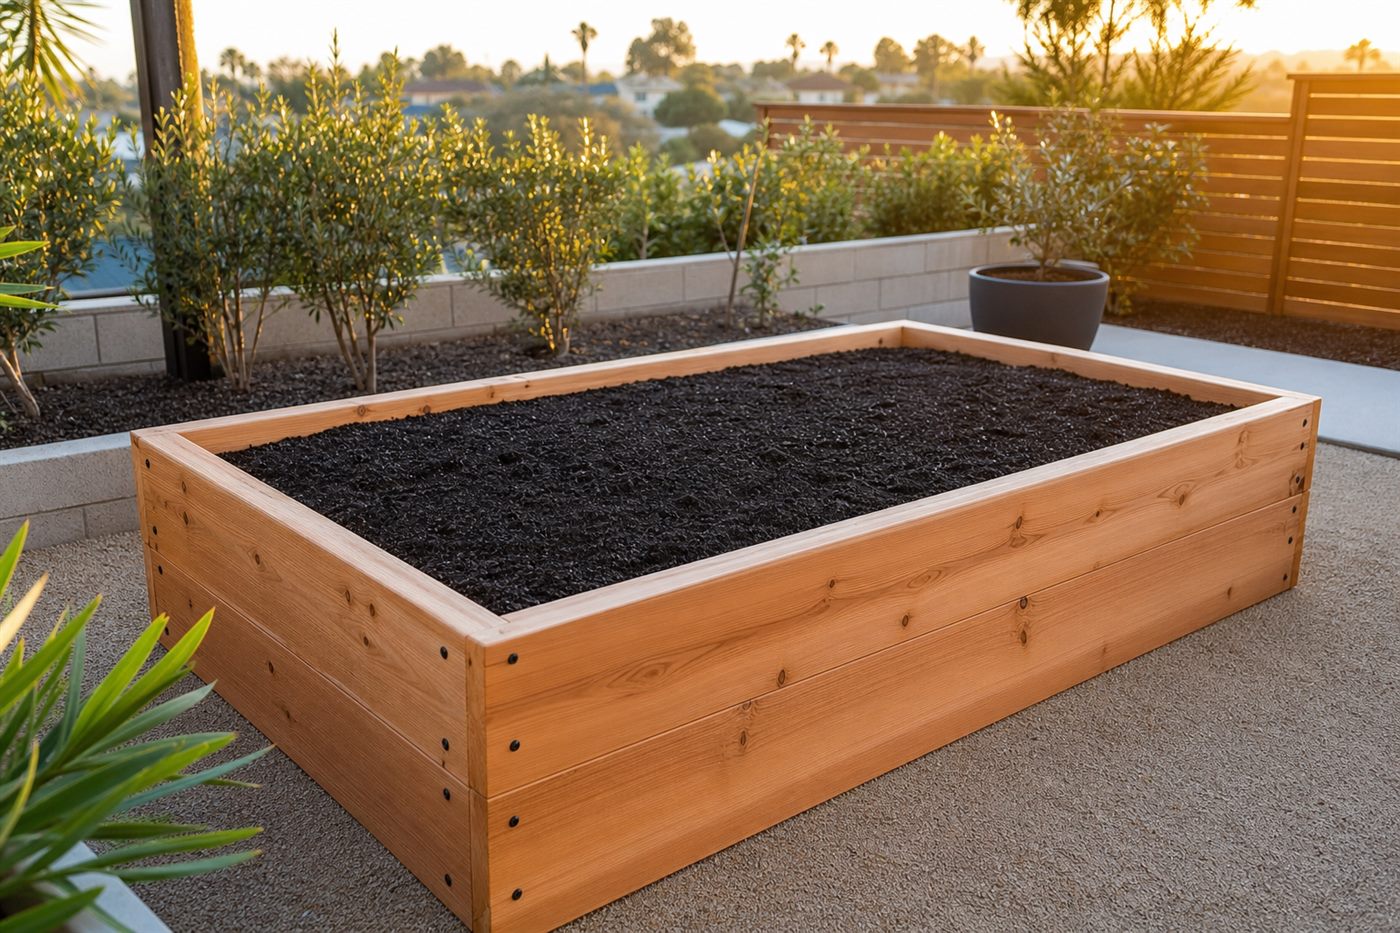
Frame a bed you can reach from the path without stepping on the soil.
Raised beds drain better than compacted clay and let you control the mix.
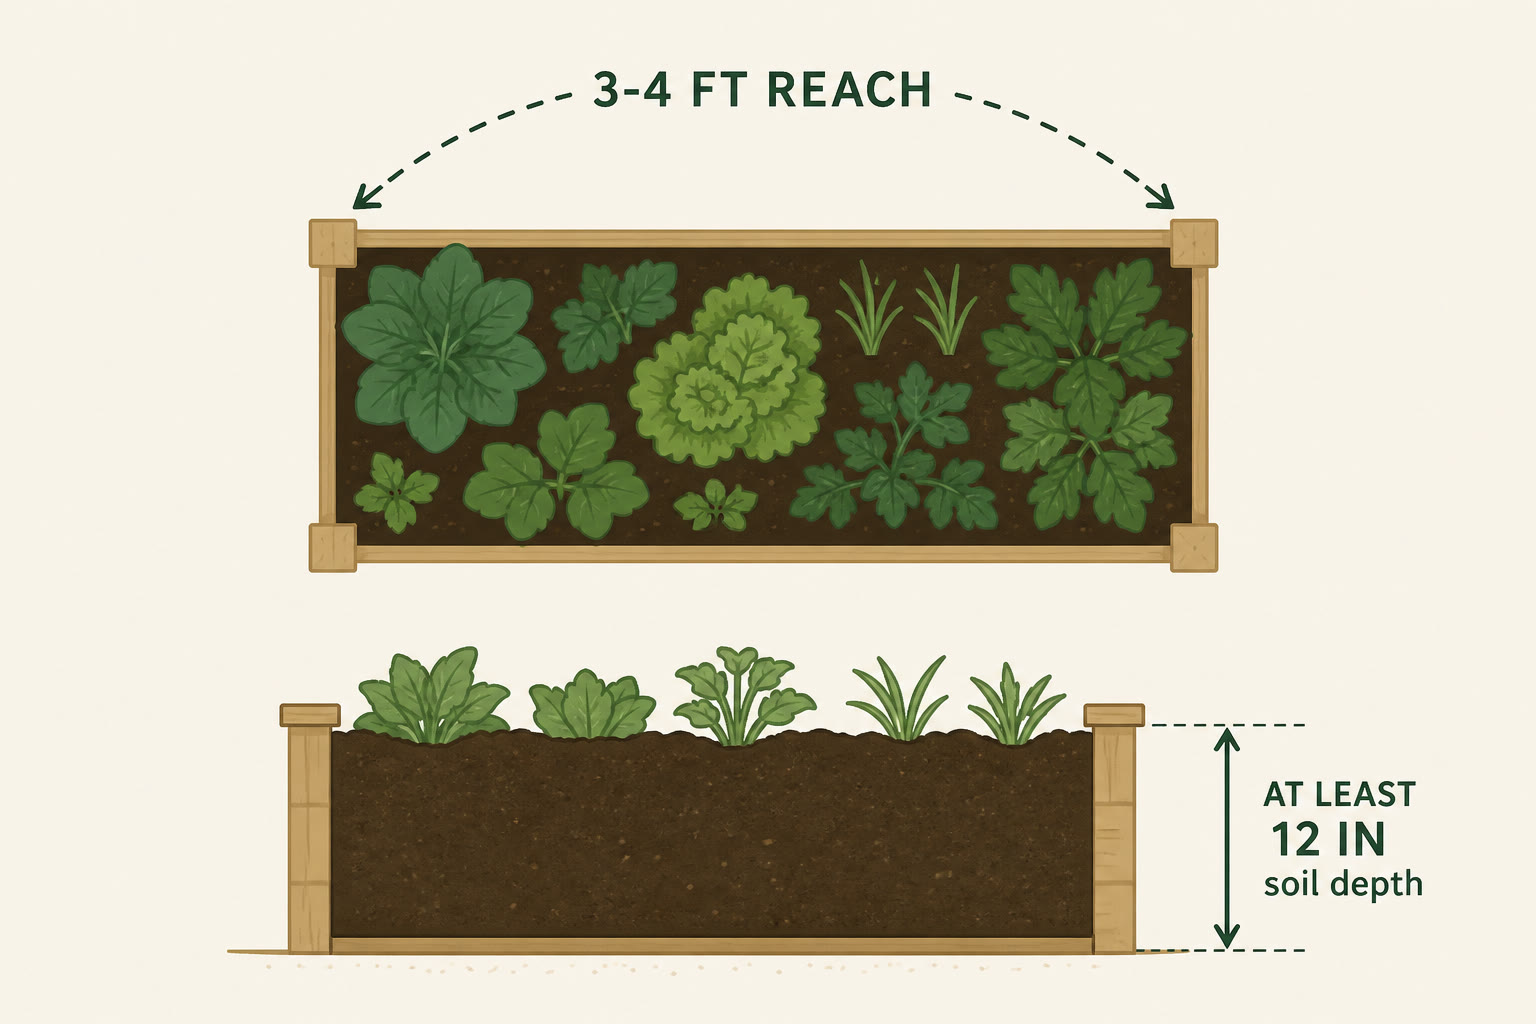
About 3–4 ft wide, 12 in or deeper, then mulch after planting.
Kit
- Untreated redwood or cedar (avoid painted scrap near edibles)
- Corner hardware, level, drill
- Vegetable raised-bed mix (inspect bagged soils no legal garden-soil standard)
- Compost for top-ups
- Mulch after planting
Do this
-
Pick sun and access
Most vegetables need about 6–8 hours of sun. Place the bed where you can reach from both sides without walking on the soil.
UC ANR.
-
Build to reachable width
Aim about 3–4 ft wide if you can work both sides (≤3 ft from one side). Depth ≥12 in for most crops; deeper helps tomatoes.
UC ANR.
-
Use safe lumber
Prefer redwood or cedar. Skip painted wood near food crops.
UC ANR.
-
Fill with a real vegetable mix
Ask for a mix made for vegetables in raised beds. Blend thoroughly; break clods.
UC ANR.
-
Blend at the base, then plant
Roughen native ground and mix a little into the first inches of fill so you do not create a sharp layer that blocks water. Water in, mulch, and plant.
UC ANR.
Want a first raised bed built in a San Diego yard? Gardens of Gold designs and builds garden beds in San Diego County. Get a quote.