← Back to Garden Insights

How-To Guide

How to Transplant Vegetable Seedlings Without the Shock

Transplant shock is usually a transition problem, not bad luck. Harden seedlings gradually, handle roots gently, water the whole root zone, and give inland plants a short break from afternoon sun.

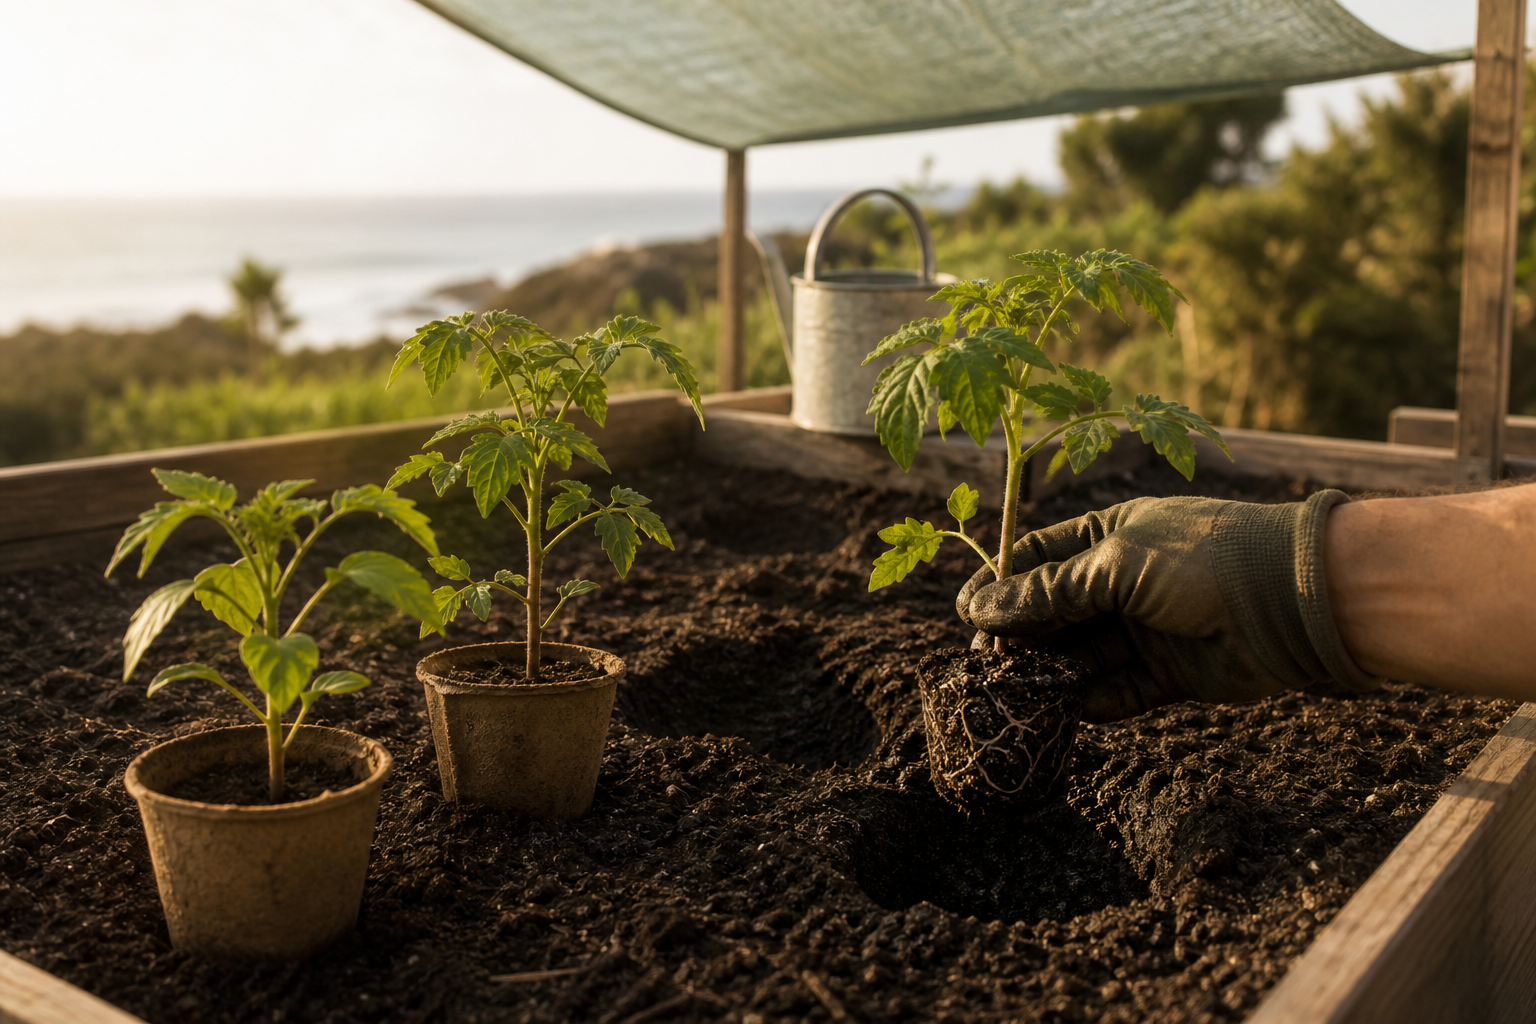
Vegetable seedlings being transplanted into a raised bed

Give Seedlings a Week to Adjust

A seedling raised in a nursery greenhouse or on a windowsill has had an easy life: filtered light, no wind, and a small pot that never dries out for long. Planting day changes all three at once. That sudden change, not bad luck, is what most people are seeing when they say a plant went into shock.

Three things get harder the moment a seedling goes in the ground:

  • Light. Direct San Diego sun is much stronger than a window or a shade-house bench, and soft leaves can sunburn in one afternoon.
  • Wind. Afternoon breeze pulls water out of leaves faster than young roots can replace it. Balconies, rooftops, and hilltop yards are the windiest spots most people have.
  • Water. In the pot, roots touched every side of the mix. In a bed, they have to grow out into new soil before they can drink from it.

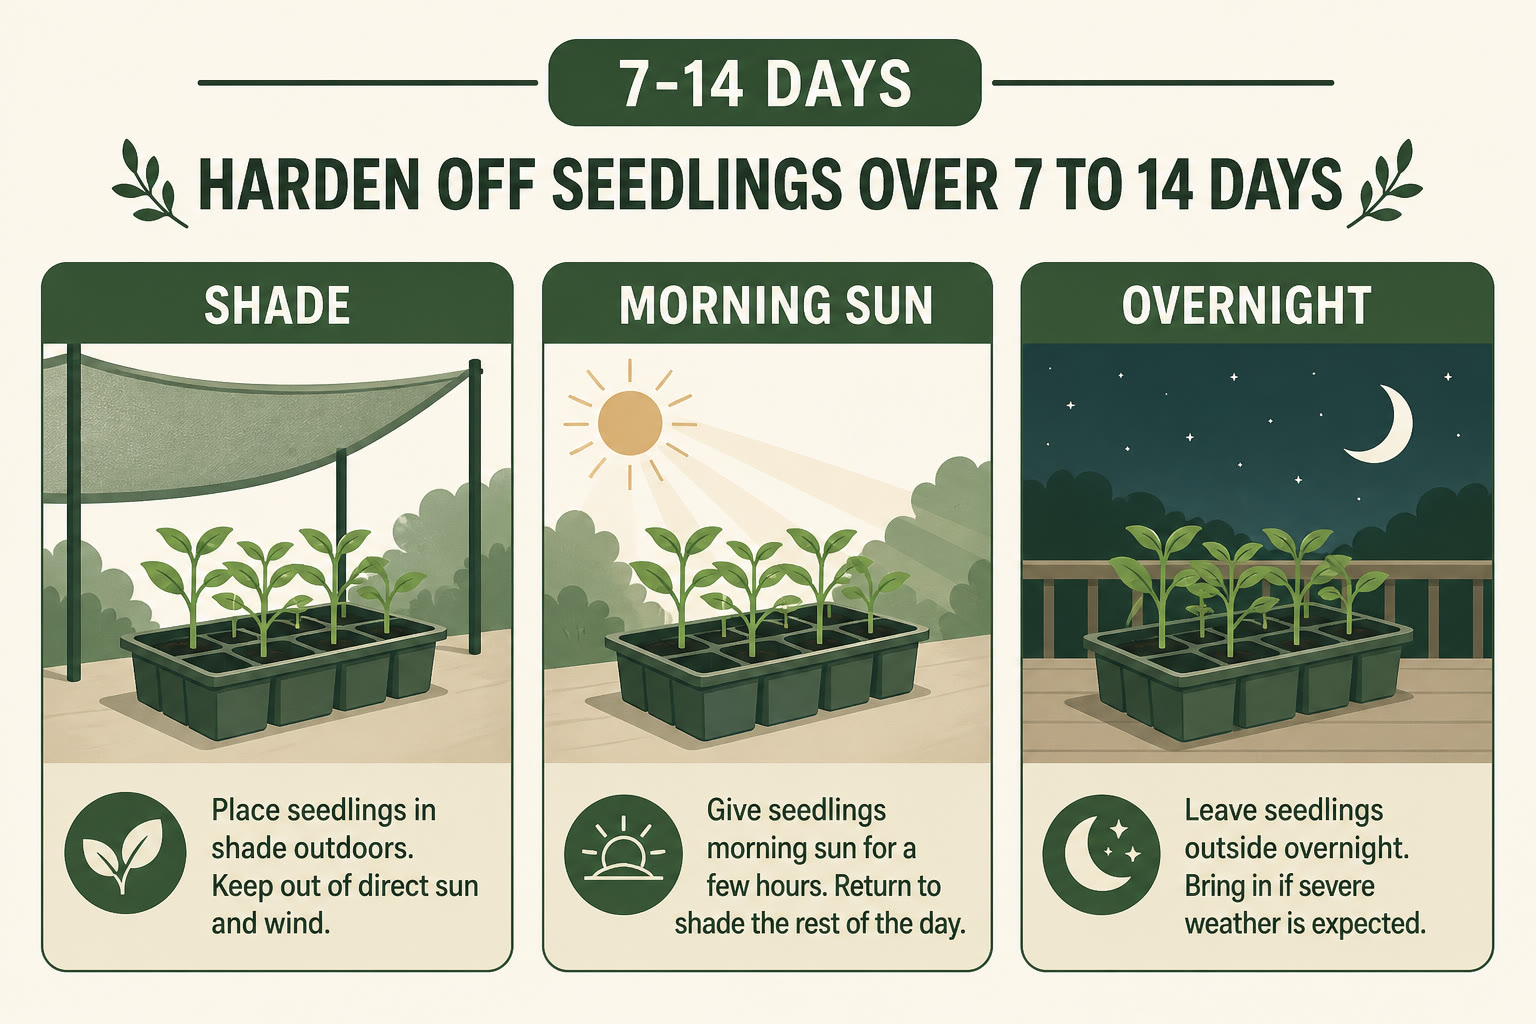
The fix is hardening off: one to two weeks of a few more hours outdoors each day. Start in shade, work up to morning sun, and save full afternoon sun for last. Your part of the county matters too. A Pacific Beach patio under the June marine layer is a gentle place to start, while an El Cajon or Escondido yard in August can cook a soft seedling in an afternoon, so go slower the farther inland you are.

Five-panel hardening-off timeline from indoors through shade and morning sun to transplanting
Move left to right over several days: start indoors, add brief sheltered shade, lengthen outdoor time, introduce gentle morning sun, then transplant in mild conditions.

Materials Required

  • Healthy, compact vegetable seedlings
  • Hand trowel
  • Watering can or hose with gentle breaker
  • Temporary shade cloth or lightweight row cover
  • Mulch
  • Plant labels
  • Clean snips for damaged leaves

Step by Step

  1. Choose what should be transplanted

    Some crops move easily and others resent it, so match the crop to the method before you buy a six-pack.

    • Transplant well: tomatoes, peppers, eggplant, lettuce, chard, kale, broccoli, cabbage, and onions.
    • Transplant only while small: cucumbers, squash, and melons. Their roots regrow slowly, so buy the smallest starts you can find, keep the root ball whole, or simply sow seed in place.
    • Do not transplant: carrots, beets, radishes, turnips, corn, beans, and peas. Sow those where they will mature.

    At the nursery, pick a stocky seedling with three or four true leaves, good green color, and no flowers or fruit yet. Skip tall spindly starts and pots with roots circling the bottom in a tight mat, because a younger plant will settle in faster than a root-bound one.

  2. Harden off over one to two weeks

    Hardening off means adding outdoor time in small doses so leaves and stems toughen before planting day. Plan on 7 to 14 days, and start on a mild, calm, or overcast day rather than a hot windy one.

    • Days 1 to 2: two to three hours in bright shade, out of the wind, then back inside or under cover for the night.
    • Days 3 to 4: same spot, but add gentle morning sun and one to two more hours outdoors each day.
    • Days 5 to 6: morning sun plus a longer day outside, roughly 10 to 12 hours, still sheltered from strong afternoon sun.
    • Days 7 to 10: add some afternoon sun, then leave seedlings out overnight once nights stay above about 50 degrees. Warm-season crops such as tomatoes, peppers, cucumbers, and basil sulk in cold nights.

    Read the weather, not the calendar. On a cool marine-layer morning you can safely give more exposure than the schedule says. During an inland heat wave or a Santa Ana wind event, hold seedlings where they are for a day or two instead of pushing ahead. If you miss a day, just pick up where you left off.

    Watch the plants. A slight droop late in the day that recovers by evening is normal. Bleached, tan, or papery patches on the upper leaves are sunburn, which means back up one step. Water a little less often than you did indoors so growth firms up, but never let a seedling wilt hard.

    Balcony and rooftop growers: wind is usually the bigger problem, not sun. Set trays behind a railing planter, a chair, or a piece of cardboard for the first few days, and keep them off hot concrete or metal, which pushes leaf and root temperature up fast.

  3. Water first, then plant in the cool part of the day

    Water the bed the day before, and water the seedlings a couple of hours before you plant. A moist root ball slides out in one piece, and moist surrounding soil will not pull water back out of it.

    • Best time: late afternoon or early evening, ideally on an overcast, calm day. The plant then gets a cool night to recover before facing a full day of sun.
    • Worst time: midday in August, or the day before a forecast heat wave or Santa Ana wind. Noon planting in inland heat is how a healthy seedling ends up flat by 3 p.m.
    • Season check: plant warm-season crops once nights are mild, and save lettuce, spinach, and other leafy greens for the cooler months when they will not bolt.

    Dig each hole wider than the root ball so roots meet loose soil on every side, and fill a little water into the hole first if the bed is dry at depth.

  4. Handle leaves and roots, not the stem

    Support the root ball from underneath and let the plant come out on its own. Squeeze the sides of a plastic cell or tip the pot over your hand instead of pulling on the stem.

    • If you need to steady a small seedling, hold a leaf. A torn leaf can be replaced; a crushed stem cannot.
    • Loosen only roots that are clearly circling the outside of the ball, and leave the rest of the mix intact.
    • Give cucumbers, squash, and melons no root teasing at all. Their damaged roots do not recover the way a tomato root system does.
    • Plant peat or paper pots without removing them, but tear the sides a little and bury the rim so it cannot wick water away from the roots.
  5. Plant at the correct depth

    Depth decides whether a stem roots or rots. Most vegetables go in at the same soil line they had in the container, with the crown where stem meets roots right at the surface.

    • Tomatoes are the exception. Buried tomato stems grow new roots, so a stocky transplant can sit about 2 inches deeper than it did in the pot.
    • Leggy tomatoes: pinch off the lower leaves and lay the plant into a shallow trench at an angle with only the top leaf sets above soil. It will straighten toward the light within days.
    • Peppers, eggplant, cucumbers, squash, and greens: same depth as the pot. Burying their crowns invites stem rot.
    • Firm the soil gently around the ball to close air pockets, without packing it down hard.
  6. Saturate, shade for a few days, then taper water

    Water slowly right after planting, let it soak, and repeat until the root ball and the soil around it are both moist. A dry ring of bed soil around a wet root ball can wick that ball dry in a day.

    • Check moisture by finger or trowel a couple of inches down instead of by the clock. New transplants often want a light drink daily in warm weather, then less as roots reach out.
    • Shade transplants for the first several days in warm weather: 30 to 50 percent shade cloth, a lightweight row cover, an upturned nursery flat, or even a patio chair placed on the west side.
    • Remove shade gradually, in the morning or on a cool day, not at the start of a hot afternoon.
    • Mulch after watering, one to two inches deep, leaving a bare ring a couple of inches wide around each stem.
  7. Adjust for the crop and your microclimate

    Same technique, different amount of protection. Use these as starting points, then adjust to what your yard actually does in the afternoon.

    • Tomatoes: tough once hardened. Plant when nights hold above about 50 degrees, set them deep, and put the stake or cage in at planting so you are not driving it through roots later.
    • Peppers and eggplant: slower to root than tomatoes and unhappy in cold soil or cold wind. Give them the warmest sheltered spot you have and a few extra days of afternoon shade.
    • Cucumbers and squash: plant small, disturb nothing, and expect fast growth once they take hold. They drink heavily, so keep the root zone evenly moist while the vines run.
    • Lettuce and leafy greens: cool-season crops that grow best in the low 70s and turn bitter and bolt in heat. Plant them fall through spring, and if you plant in summer, use 50 percent shade cloth or the shady side of taller crops and choose slow-bolting varieties.

    Coastal versus inland: within a few miles the same seedling can face two different climates. Near the coast, marine-layer mornings do part of the hardening for you and a few days of shade is often enough. Inland, expect stronger sun, hotter afternoons, and drier wind, so harden off closer to two weeks, plant in the evening, shade for about a week, and give summer greens standing afternoon shade.

First-Week Success Check

  • Check the forecast before you commit. Skip the two days before a heat wave or Santa Ana wind event; a calm, cloudy stretch is worth waiting for.
  • Midday softness that recovers by evening is normal. Wilt that is still there at dusk means checking soil moisture at root depth.
  • Wilting in soil that is already wet is not a thirst signal. Stop watering and let air return to the root zone.
  • Bleached or papery patches on upper leaves are sunburn, not disease. Add shade and let the plant grow past it.
  • Mulch after watering, leaving an open ring around the stem.
  • Do not force a stressed transplant with a heavy fertilizer dose; root establishment comes first, and a diluted feed can wait a week or two.
  • Containers, balcony pots, and raised beds dry faster than in-ground beds, so check them on their own schedule.

Want help getting this done right? Gardens of Gold designs and installs water-smart landscapes across San Diego County. Get a quote.